loader

Activity No. 11: building a range finder (Vittascience Starter kit)

Combine the ultrasonic sensor and the LCD screen with the NUCLEO-L476 board

  • NUCLEO-L476RG board
  • MicroUSB cable
  • Base shield Grove
  • LCD screen Grove
  • Ultrasonic distance sensor

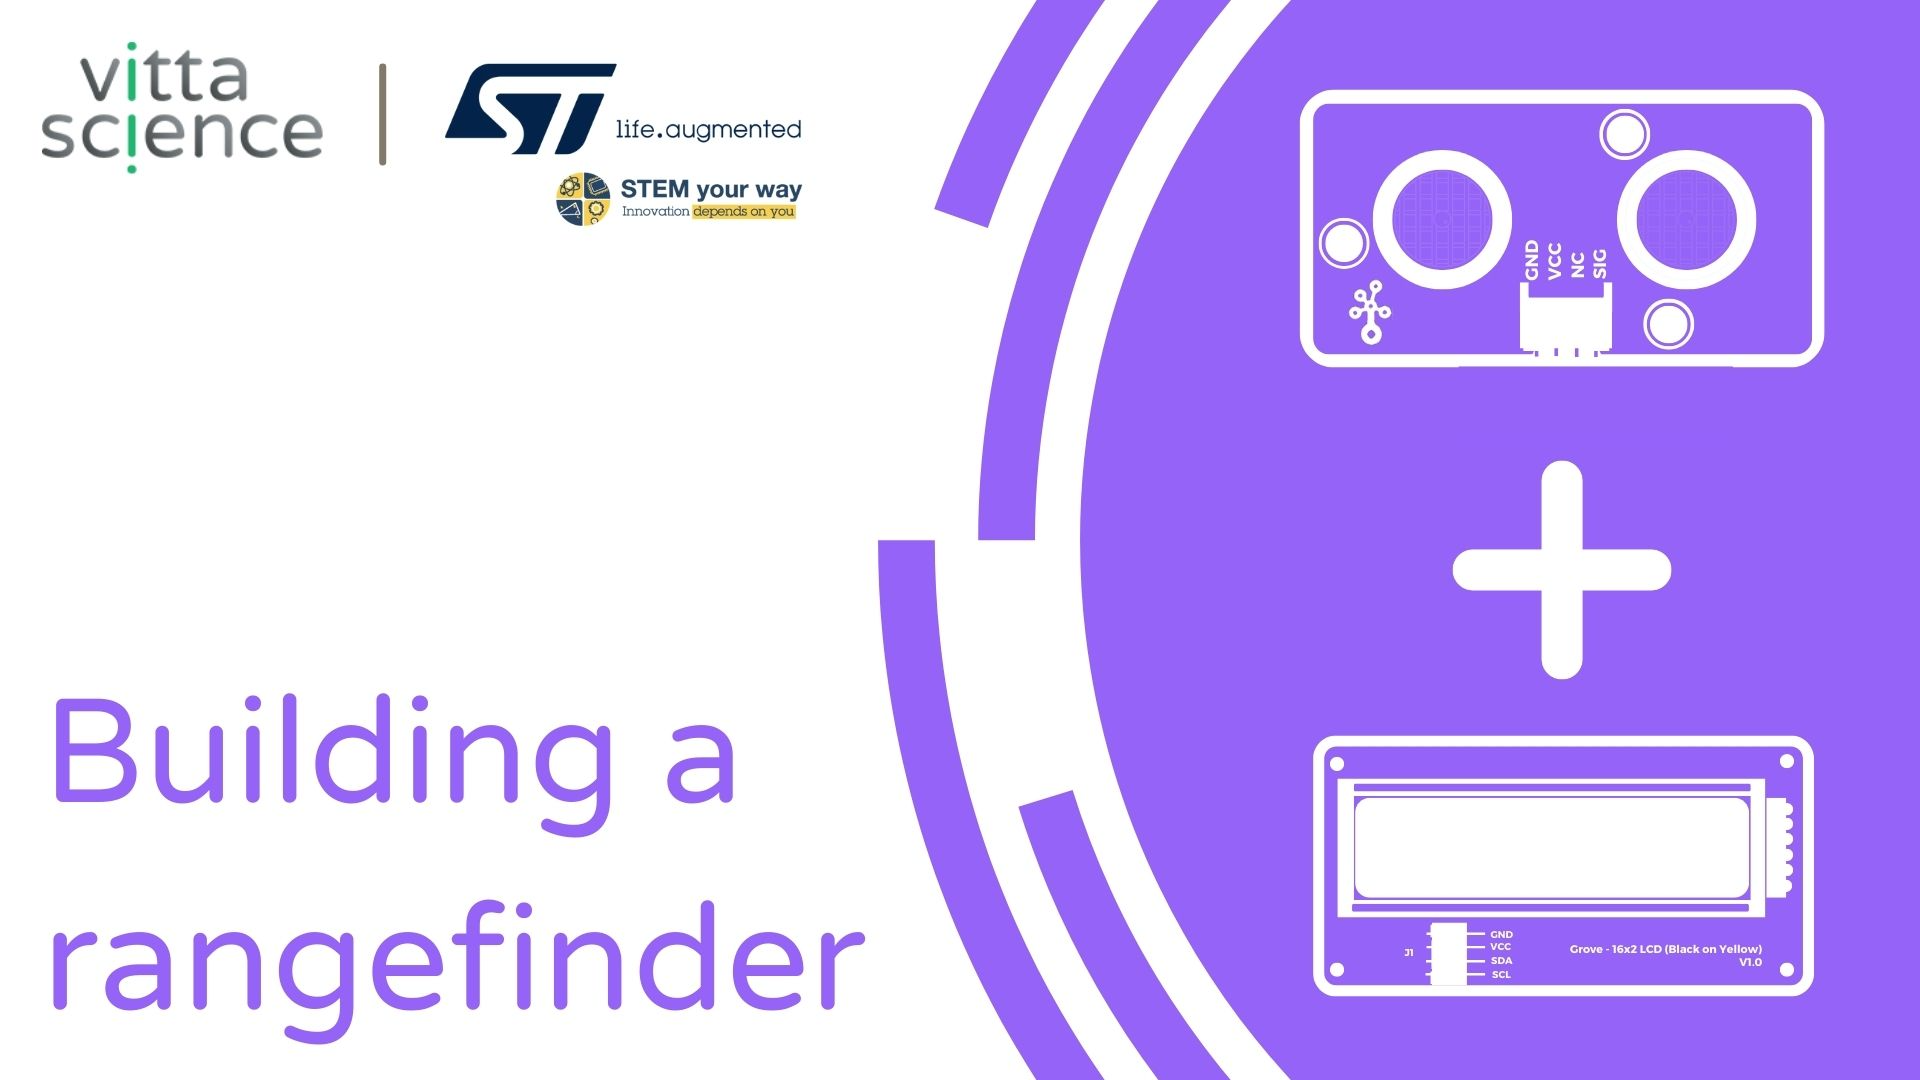
To make this rangefinder, allowing to know the distance between the sensor and an object, two modules must be used: the distance sensor and the screen to display the measurement. 

Here is the connection to make:
- Connect the Shield Grove to the card connectors. 
- Connect, using the Grove cable, the screen to one of the ports named I2C available.
- Connect the ultrasound module using the Grove cable to one of the digital ports. We will choose port D8.

Ultrasons-EN

Let's get to the programming now! 

The program that we are going to create will display the distance in cm between the ultrasound module and an object on the screen.

We will use two blocks to manage the display:
- "[LCD] display text ... on line 0 position 0", available in the Display of the block locker to manage the screen.
- "[Grove Ultrasonic Sensor] distance (cm) D8", available in the Sensors, to retrieve the module value.

And a specific block to customize the text: 
-  "create the text ... ... ... " available in the Text of the blocks locker, combining it with the block ("...") which allows to write. 


display the text "Distance:" on line 0 of the screen
display the text ["Ultrasonic sensor (distance in cm)" + "cm"] on line 1 of the screen


Use the following interface to create the rangefinder program:


Launch the simulator to check the correct execution of your program or download it to the card. 

You succeeded ? Perfect, you now know how to program an ultrasonic rangefinder using your NUCLEO-L476RG board! 
Discover the other activities of the Starter kit by clicking on the icons below.

Licencia de uso

Licence Creative Commons

Este recurso está disponible bajo los términos de la licencia Creative Commons Attribution-Share Alike 2.0 France License.